General Half-Life 2/Architecture
description
Some neat tips and tricks to using displacement, you may not have seen these.
keywords
advanced, displacement, sub, divide, displacements, subdivide.
Tips and hints with displacement maps!
In this tut I will teach you some the trick I have picked from other tuts on the web, stuff I picked up from other maps, and things I have learned to do.
The cool thing with displacement maps is that they can stick though other displacment, BSP brushes, or entities, like models. You have almost unlimited control over the shape, size, form to allow you do things brushes or models cannot do. Models do have many more advantages though.
Things you cannot do with d-maps, make an entity, make water, or seal maps. you cannot see them from underneath or from the inside.
subdividing-

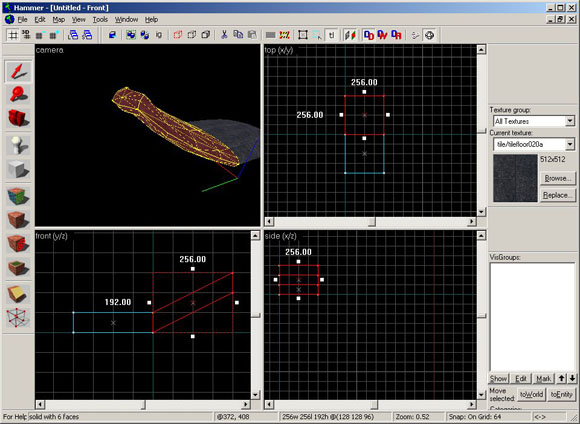
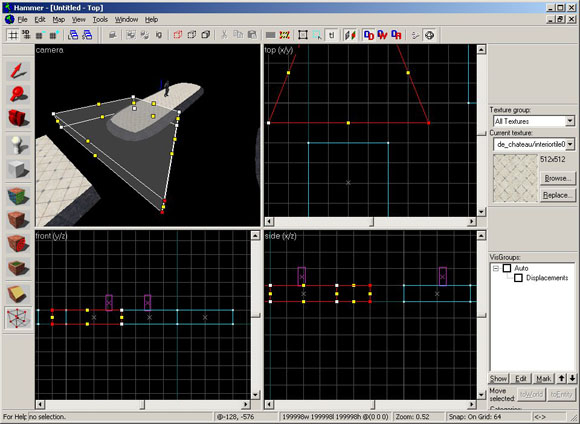
Start with one cube, then copy to the edge of the old cube. Select both cubes. Click the texture and select the displacent tab. Set for a power of 2 for easier and quicker subdividing or you will have to wait for it to finish up. The more brushes you do Subdivide the long it will take. Click the Create button.
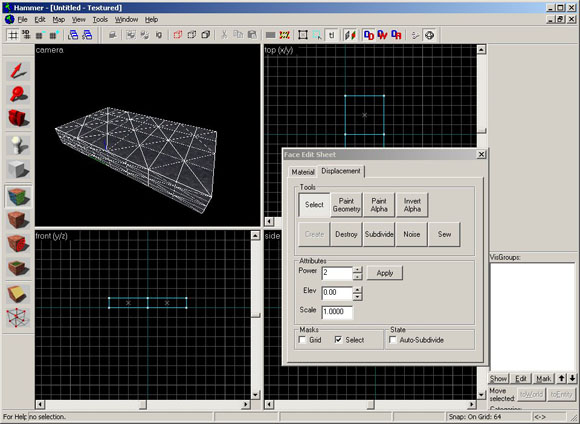
Now to work right you need to Destroy the center faces you can not see. Make sure to grab both in the case. To make sure I'm clear about this you will need to go in the cubes and select the faces and Destroy them or the subdivide will not work right.
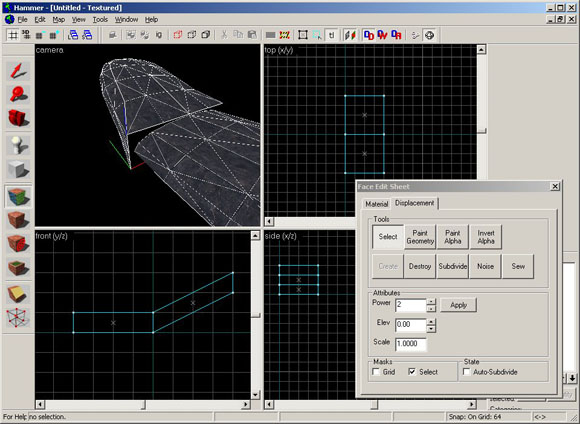
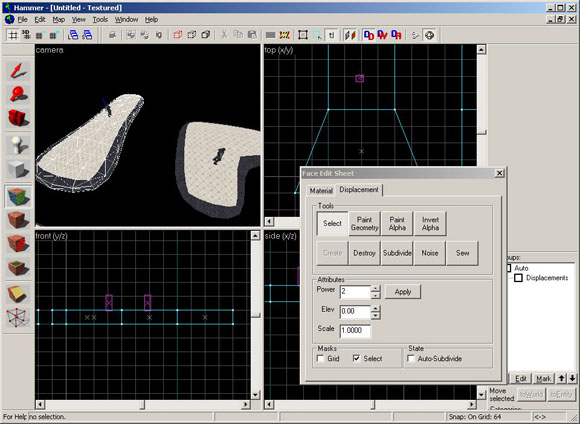
Now select ALL the faces OR a faster way is to exit the texture tool by clicking the Select tool. Now click one cube and ctrl click the other to get both. Click back the texture tool and go back the the displacement tab. This saves you from having to manually grab all the faces. You can also do a shift-ctrl-click in the texture tool when nothing is selected and click both cubes, but if you forget to unselect then you deselect the face or faces you had selected before, then have to click back, then things start going wrong. That is why is it easier using the Select tool, you know for a fact all the faces are selected. Now subdivide. You should end up with something like this.
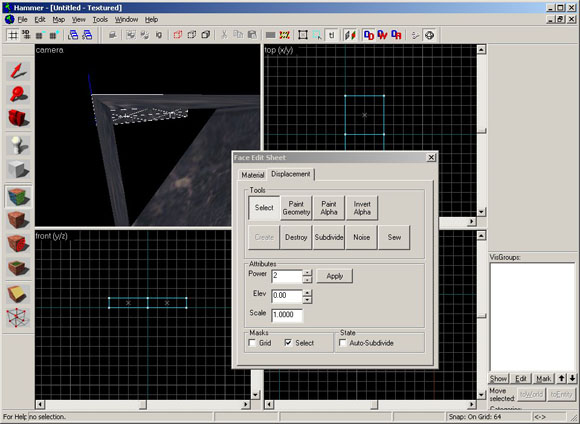
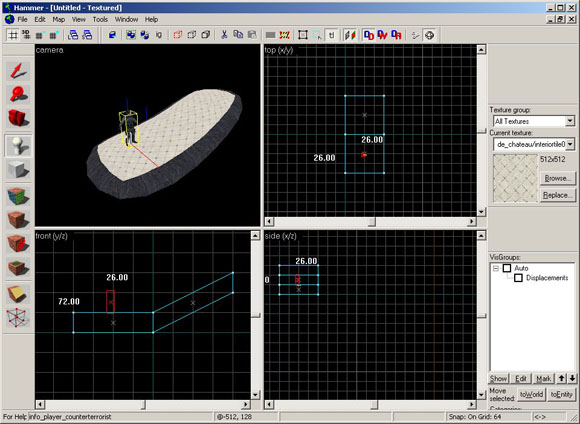
Now some tricks. Exit the texture tool again by clicking the Select tool. Select the one of the cubes from a side view. Click twice on the cube to enter Skew mode. Pick the far end of the cube and lift. Like so.
Notice how the end looks now? This will happen to a map when you rotate or skew them. With it still selected, go back the the texture tools and subdivide again, select both, sew, and subdivide again.
You can resubdivide both without having to use the sew button. But if you do the you get a little bump in the middle. I added a player start to give you an idea fo the size I am using.
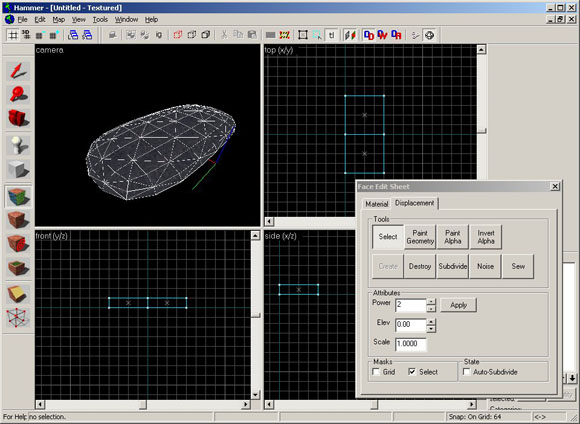
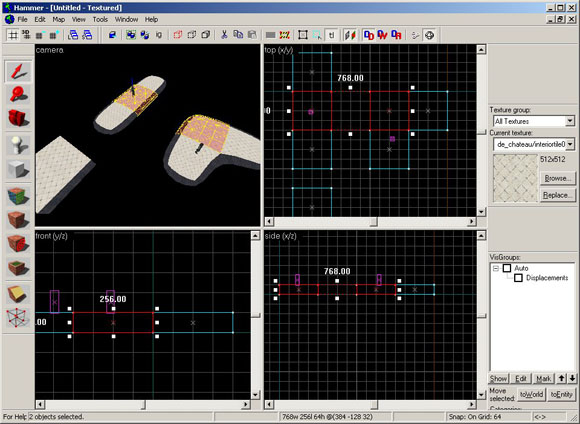
You can use higher powers for a smoother look, but the more faces you subdivide together times a high power will take a very long to build. Here are examples of three cubes.
Cool trick 2. You can now Vertex Manipulate the cubes.

And Subdivide again.
And now skewed. And if you like subdivide again.

Cliff ledges.
Set up a couple of cubes and triangle like shown.

Make a smaller block the same width and lower down. Subdivide the triangle shape. You will notice the ends of the triangle are now gone. That is the reason for the cube, to hid the ends. Skew the triangle down to match the top the small cube. Copy and rotate the triangle and move into place like shown.
Add some noise or use the paint geometery to rough it up a bit.
I have made all three cubes displacement maps. As you can see in the pic I lifted a little to high and you can see the gap.

Select the top of the cube and the triangle and sew them together. Becareful not to get to close to the egdes or you lift everything out place. If you do mess up to bad, select all the brush and destroy them and start over or undo the last command(s). When editing thought I recommend editing ALL the d-map a once to prevent sewing on something like this. I use a power of 3 on this exampler. In this example you can see I roughed it up a bit and add alpha painting to show off the d-maps better.
I spent about two minutes making it look like this, more time I could have something looking like right of nature. Don't try to subdivide these shapes, the faces do not line up for this.
A note on sewing,if the faces to do not line up then sewing will not work, if it is off by one gird unit then may not work at all. The face's egde must be on the same plane..
Raise to- you can use a negitive number the sink your map. 0 is level with the plane of the brush. It does weird thing if the brush is rotated or skewed.
If you need to make fine adjustments to your maps where they don't quite match you can set the Paint Geometry Distance, fill in with .5 or .1. It is best if you can make the lines of each map meet up. You can use the X or Y angles to 'pull' over a line then use Z to meet them up. Set the raduis to a 3 and zoom in as close as you can, when both maps split the middle of the cube that is about as lined up as you can get.

For this example pic my maps did line up, so I pulled a line out of place anyway and raised up 5 units. Then switch to the other map and raised it by .5 units. In the example pic, you can see I still have tweaking to do. The main problem with is you can cannot have the other map selected or you move the line you are trying to get to also by .5 units. You have to switch back and forth get it just right and then select both to see if you have it lined up, you can shift-click to unselect/ select other maps with out switching out to the Select button. Use this if you cannot sew your maps together.
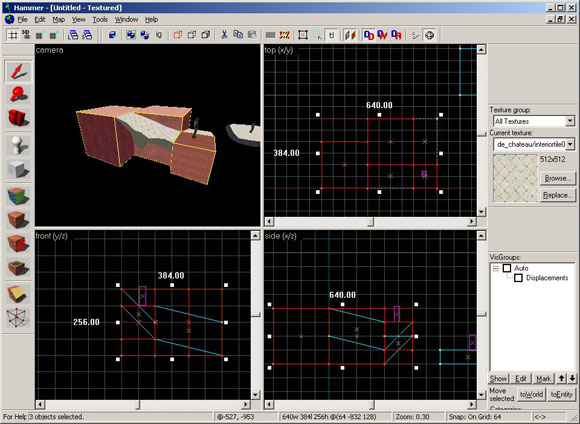
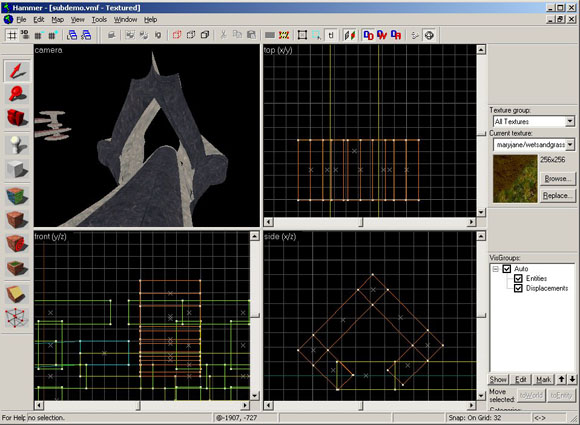
In this example you can see in the side view the brush setup I used. Where ever you use subdivide you need make sure no faces mismatched or it will not work. Clean out the faces you won't see. Then I rotated the shape, it does some weird stuff. You could re subdivide it again if you like.
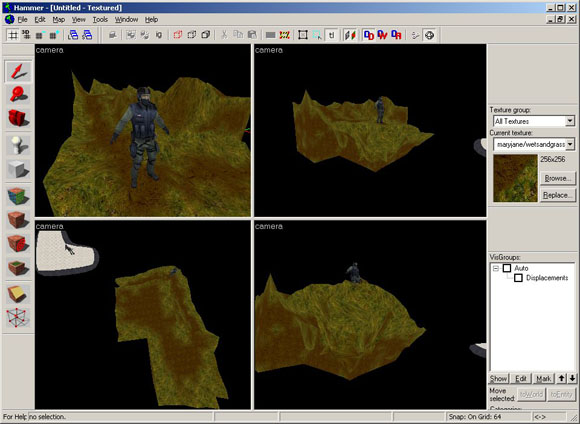
A sample of what you can do.

The more and fine you make the maps the larger your file size will be. If you want a small file size, use d maps in a limited matter. If you go hog wild be prepared with files like 10, 20, 30 megs in size.
You can subdivide as little as 1 or 2 faces and don't have to use the whole BSP brush. You can subdivide cylinders, the ends will be gone though, make ok pillars and tree trunks, but cubes work to for that You can only work with a square face. Angles cause problems when trying to create maps and deletes the face. You can also clip the brush still, but might delete one or more faces.
Slayera