General Half-Life 2/Other
description
Make your own realistic sky-boxes with VUE6 Infinite.
keywords
sky, box, skies, boxes, skyboxes, VUE, realistic, create.
Today we will learn how we can create realistic Valve like Skyboxes with "VUE6 Infinite". You can get a PLE-Version of it over here.
So why we should use Vue6 for it and not the well documented Terragen?
The answer is quite simple, with Vue6 you spend lesser Time on creating Sky-Textures and you get much better results.
So now that we know the Why, lets start with the How.
First load up your Vue6, and if you get asked which Environment you wanna use, choose "Vue6 Infinite Default". And if you already setup another Environment simple go on File -> Options -> Load interface presets and choose the right one. So now that you have the right Interface loaded (see Screen #1) we can start
Screen1:
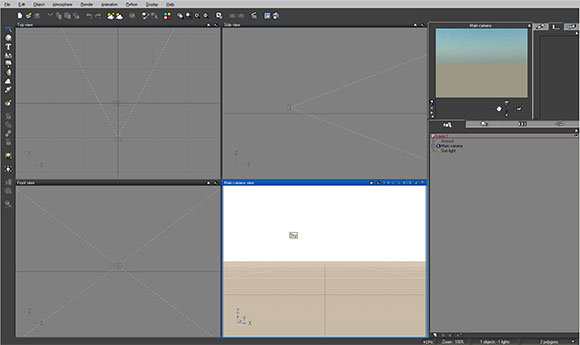
------Camera Setup Part 1------
So the first BASIC that we do, is setting up the Camera so that we can use it with the almighty Source.
For that simple go over to the right side of your Interface and click on the "Main Camera" Layer (see Screen#2) This is the most important part!
Screen2:
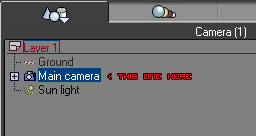
So now that we have selected our Camera, we can go over to the settings (see Screen#3)
Screen3:
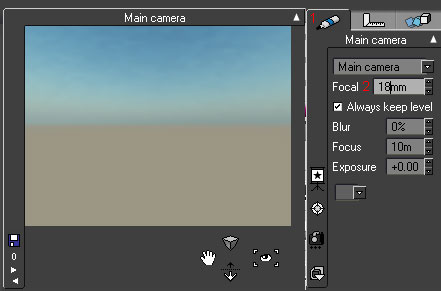
First we click on the Pen (1) and after that we enter a Vaule of 18mm in the Focal Field (2). It's important to know that we are working with the Metric-System in Vue6, so Millimeters (mm), Centimeters (cm), Meters (m), Kilometers (km) and so on.
So now that we got that we can go over to the next one, move your mouse straight over the Angle Icon and click on it. (see Screen#4)
Screen4:
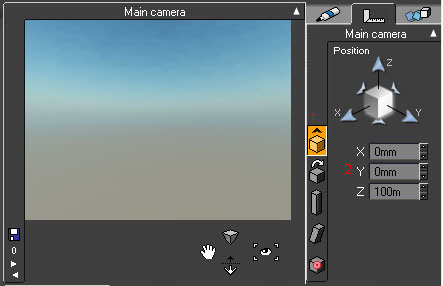
Here we have to setup two things, first of all click on the Cube with the upper arrow above it (1) and set X & Y to 0mm and Z to 100m
We are done with that!
Now click on the other Cube beneath the one before (the one with the curved arrow above it). And now we enter the following Values: (see Screen#5)
Pitch = 90
Roll = 0
Yaw = 0
Screen5:
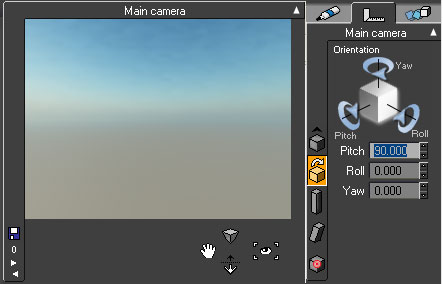
In that window we will setup every Camera we need, so leave it open for later use.
------Render Setup------
So now we have to Setup the Render-Preview, to do that simple go over to the "Camera" Symbol in the upper Toolbar and right click it and set it up like in the next Screen. (see Screen#6)
Screen6:
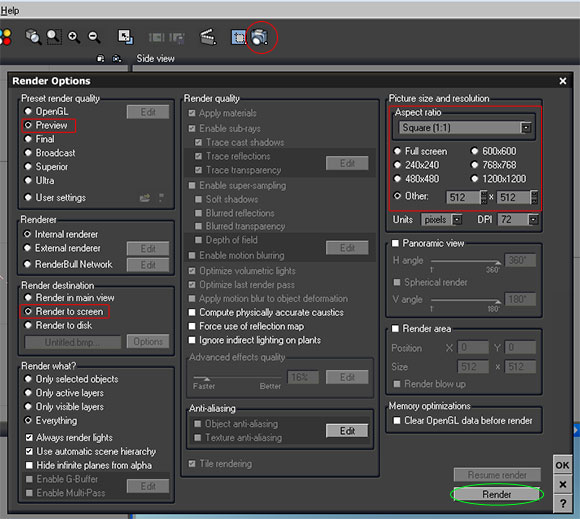
As long as we tweak out our Skybox, we can leave the "Preset render quality" on Preview.
At "Render Destination" we can choose "Render to Screen"
On "Picture size and resolution" we choose "Square 1:1" and enter a value of 512x512 you can go bigger or smaller but i recommend to use 512x512. Thats all for the Render-Setup now hit "Render" and the damn MAGIC happens
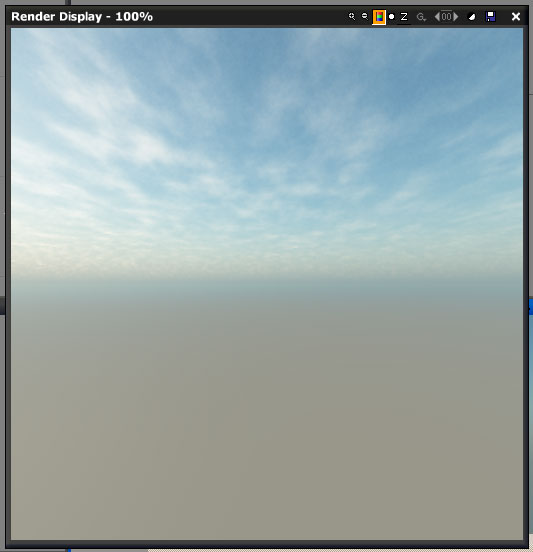
Now we have a Screen similar like the following one.
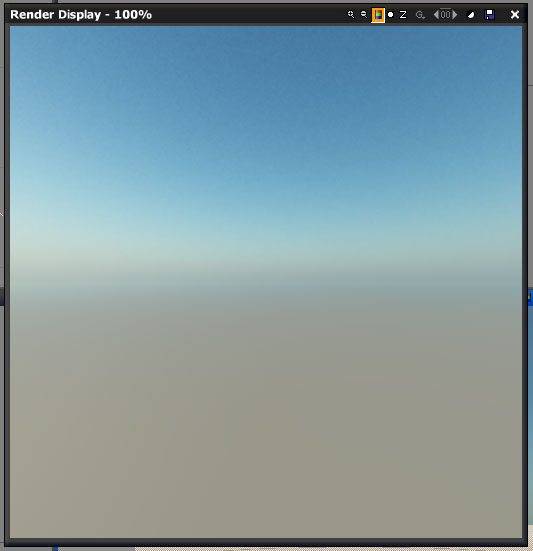
------Skybox Setup------
Damn impressive
Ok Hit "F4" or go over to "Atmosphere -> Atmosphere Editor" a new Window will open (see Screen#7) here we will setup nearly everything that we need! But in this Tutorial i will only cover the Basics of the Editor cuz most of the included Functions are self-explaining or simple Slide-me-until-you-happy Functions
Screen7:
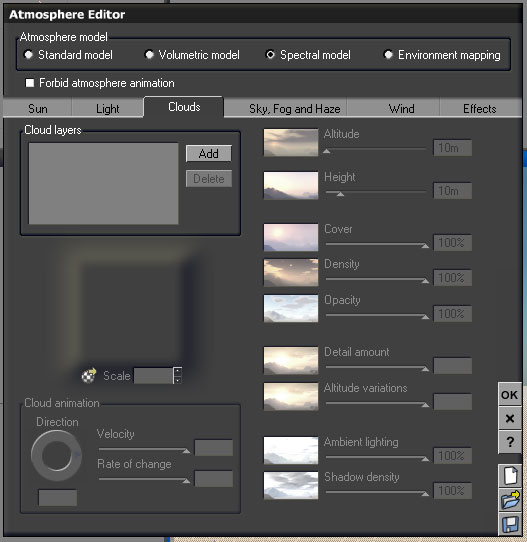
For a better result we build our Skybox with a "Spectral Model" so leave it as it is. The next thing that we have to do is adding some clouds, so click on the Clouds Tab and then click on Add. A new Window will open with a bunch of available Cloud Layers, we will select Volumetric Clouds and there you can choose whatever you want but i recommend one of the Complete Cover Clouds.
So now we have to move our Clouds above the Camera position, so remember our Camera is 100m high so we have to set the Cloud Layer 200m high. To do that simple type into the Altitude Function a Value of 200m or whatever else you want. A quick preview can always be found on the right side of your Interface, if not simple left-click in the Window one time.
So now hit "OK" in the lower Right and after that left-click on the Camera-Symbol in the upper Toolbar. Now we should have a similar Result like the one on the following Screen.
To get alternate results simple play around with the various settings in the Atmosphere Editor, he is really easy to use.
------Camera Setup Part 2------
So now we have to Setup every Camera for every Texture we need. Again head over to the Camera Angle Tab on the Right. (see Screen#8)
Screen8:
Here we will alter the Settings for every Texture. First of all leave the Settings on the Values we have entered before. This will be our Front Camera (_ft) and now right-click again on the Camera Symbol in the upper Toolbar and set the "Preset render quality" to Final. (remember Screen#6) and Hit "Render".
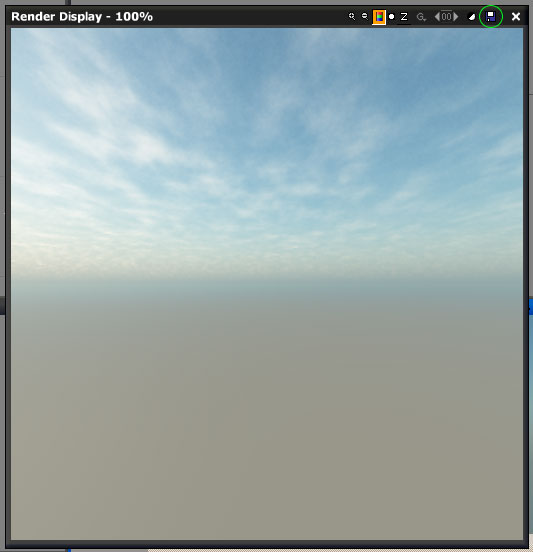
After the Image is rendered, hit the small Disk Icon in the upper right corner (see Screen#9)
and save it under "whatever_ft" with an .tga extension or any other extension you can handle.
Screen8:
Now continue the above steps with the following settings until you have every Side of your Skybox.
Front Camera (_ft)
Pitch = 90
Roll = 0
Yaw = 0
Left Camera (_lf)
Pitch = 90
Roll = 0
Yaw = 270
Back Camera (_bk)
Pitch = 90
Roll = 0
Yaw = 180
Right Camera (_rt)
Pitch = 90
Roll = 0
Yaw = 90
Up Camera (_up)
Pitch = 0
Roll = 0
Yaw = 90
Down Camera (_dn)
Pitch = 180
Roll = 0
Yaw = 90
Now you have your own Valve-like Skybox! Really just play around with the settings of the Atmosphere Editor and you will notice that you can create nearly everything with it!
Compile your Skybox-Texture with the following Flags, to get the best ingame results.
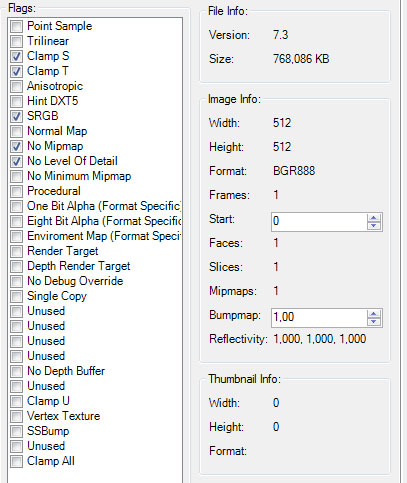
Also Remember that there is a bug, you have to make every Texture the same Height and Width (ie. 512x512 or 256x256) and not 512x256 or something. If you make them in a different size you will get compile Errors and you aren't able to create cubemaps for it.
I'm done!
Hope it helps and pls let me know if you got questions or want more details.
FlynT


