Page 484 of 486

Re: Model pimpage Thread

PostPosted: Fri Aug 29, 2014 3:01 pm
by TKAzA
Impressive work as always, those window frames look like they would fit perfectly into hl2 and that garand is amazing, whats it for? Fun / portfolio work? or a mod or game?

Looks like it would be perfect for Traction Wars, they have very detailed and realistically rendered firearms.

No 3d art from me for years, hopefully i can find some time to wip up some art to pimp out.

Re: Model pimpage Thread

PostPosted: Sat Sep 06, 2014 1:59 am
by Kanine01
Image

Printed this as a poster for my girlfriend as a birthday gift. :3

Re: Model pimpage Thread

PostPosted: Sat Sep 06, 2014 6:55 pm
by Stormy
Image

Re: Model pimpage Thread

PostPosted: Sat Sep 06, 2014 10:40 pm
by nub
^ I Love Boxer Hockey.

Re: Model pimpage Thread

PostPosted: Tue Sep 09, 2014 5:27 am
by Kanine01
Thank you, she loved it. ^_^

Re: Model pimpage Thread

PostPosted: Tue Sep 09, 2014 11:44 pm
by plagueofburia
The robot looks good well done.

Hi, I am not sure I am going in the right direction with this level. I have many props installed in my EP2 Hammer but there are many props that really do not fit this world. Most textures need to be redone it is taking me a very long time sorry.

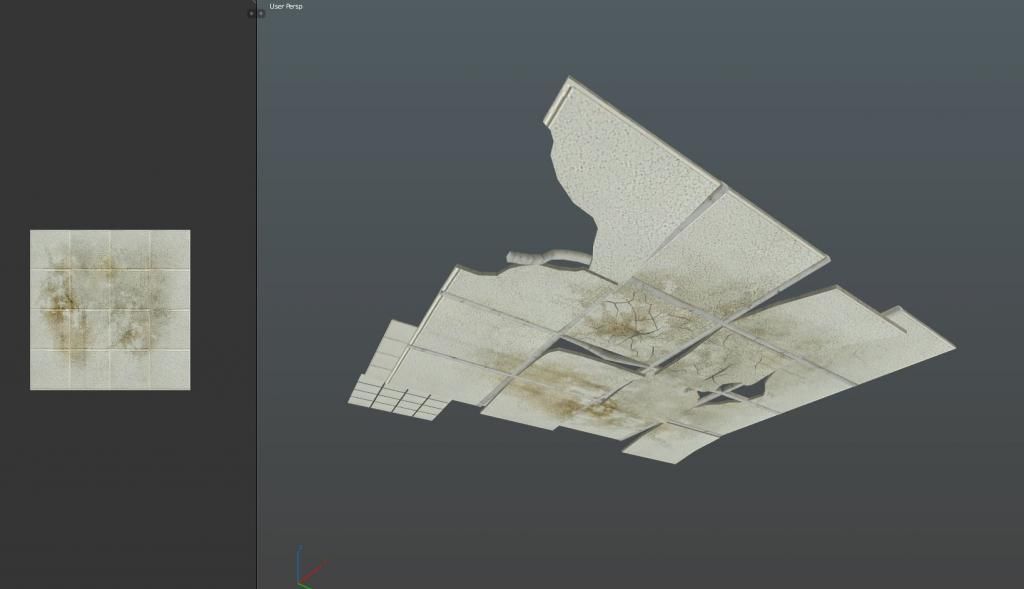
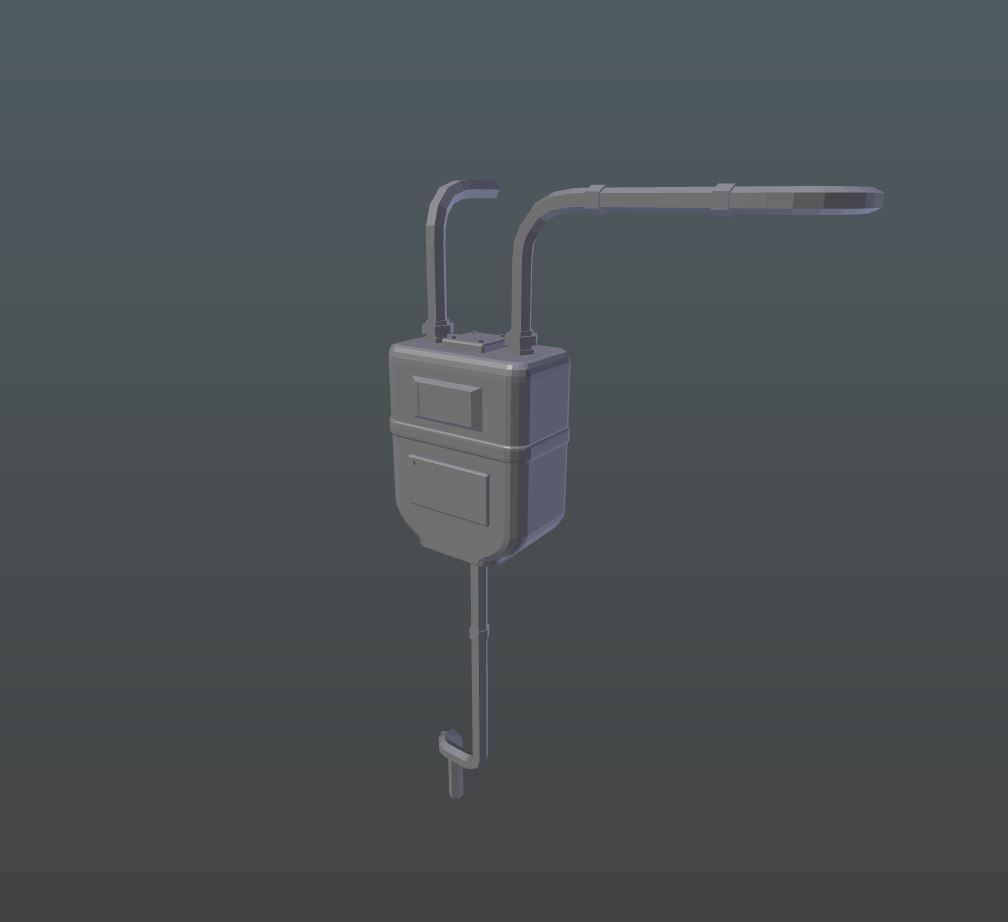
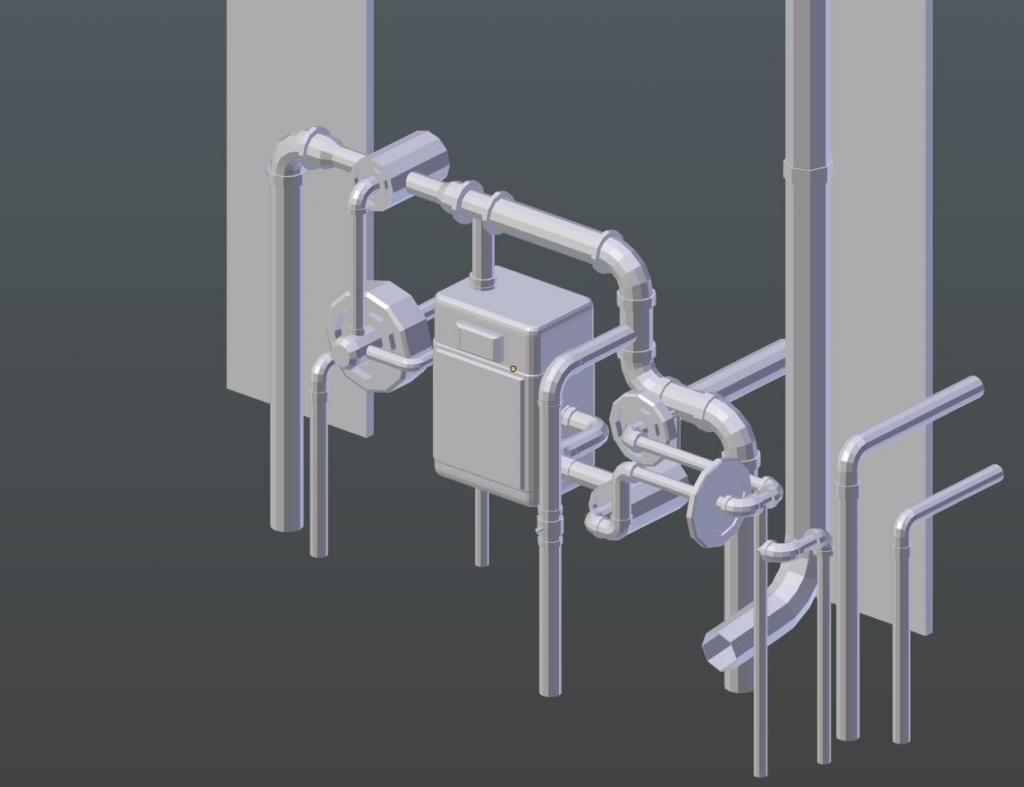
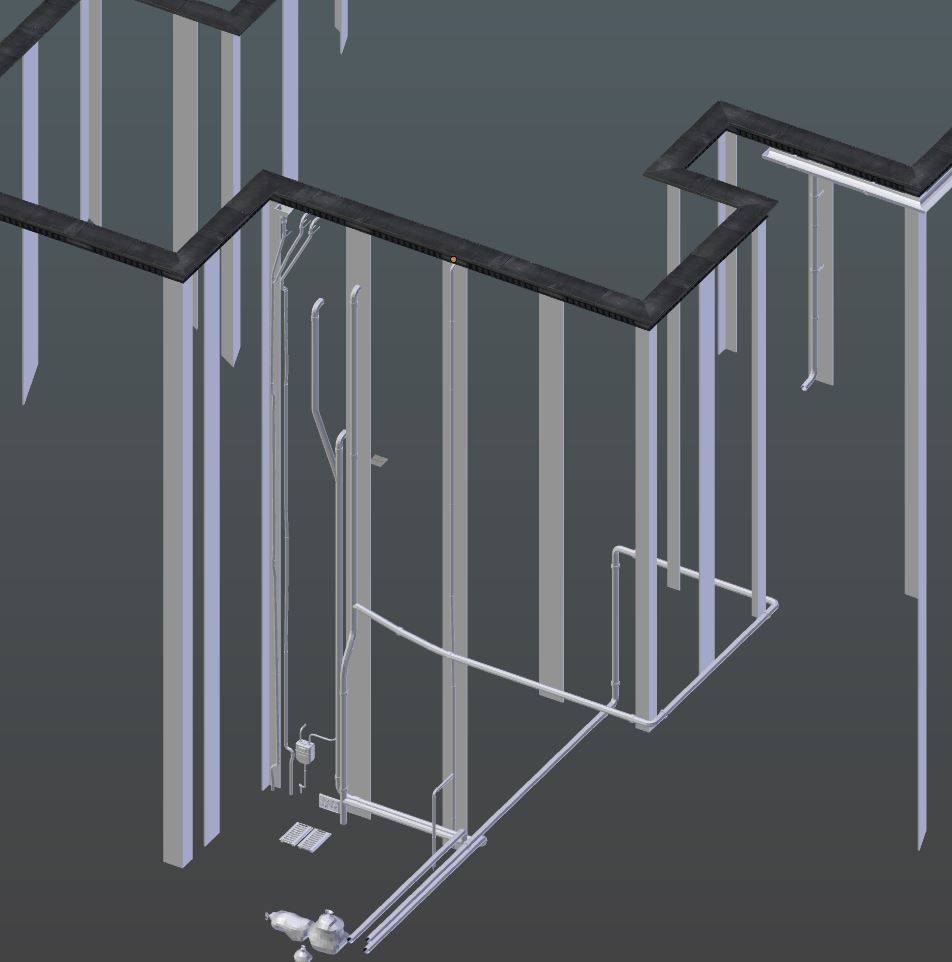
I am creating ceilings for the office area, building sides, gas meters, wires and gutter pipes

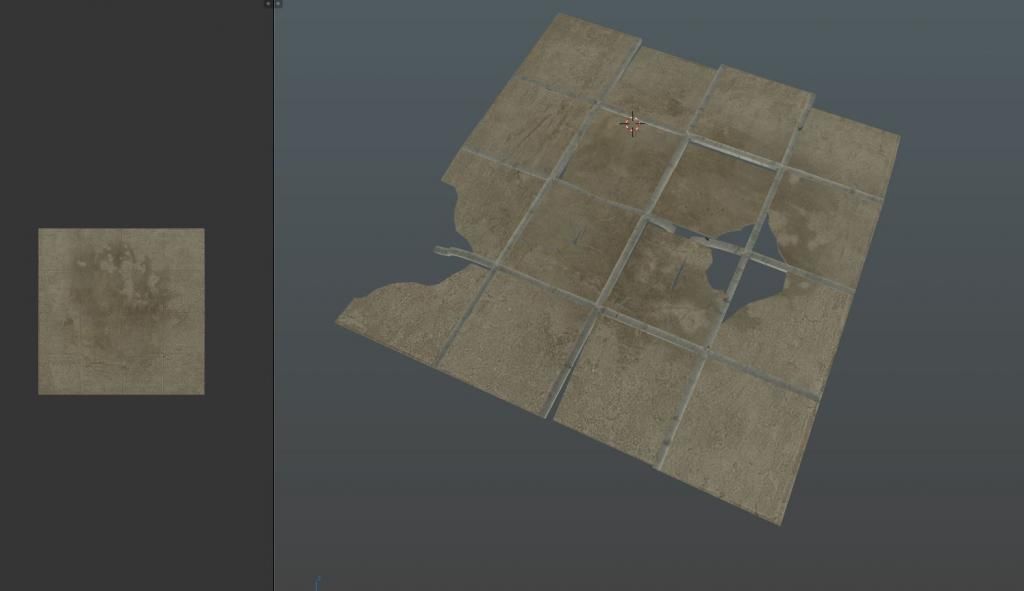
The Ceiling, I am trying to go for grid segment of 12,9 and maybe 4. The way these are textured is very different than any model I have done. In that the ceiling tiles front and back are each full tiled textures at 1024 and the sides and bars are a texture sheet at 512. So in total each grid segment contains 3 textures to a model. It might seem like a lot but I believe that I can create any type of variation for the ceiling with 3 texture sheets.

I also have a few skins for each ceiling tile segment

Image

Ceiling top
Image

Gas meter
Image

Thanks TKAzA for the positive comment, I need to improve learning to work with curves in Blender is a very powerful tool, the Gas meter was created with curves but I have limited knowledge of it and I also need to build up speed. When I decide I need a new prop everything slows down with the design of the level :( . Getting coherent textures in the game world with hammer that meld well will different structures, I am finding very difficult at the moment.

Re: Model pimpage Thread

PostPosted: Sat Sep 13, 2014 2:23 am
by Stormy
Plagueofburia it's awesome to see you getting more and more handy with blender. Have you learned how to bake normal maps yet? That last model you showed would be a good highpoly to bake from but I hope it's not going in the game at that resolution.

Re: Model pimpage Thread

PostPosted: Sun Sep 14, 2014 10:13 pm
by plagueofburia
Cheers Black stormy, I am fortunate to have help from you, kraid and others. I still need to watch the normal map video at the moment I have not spent a good amount of time on this subject sorry. I would like the modelling process finished out of the way.

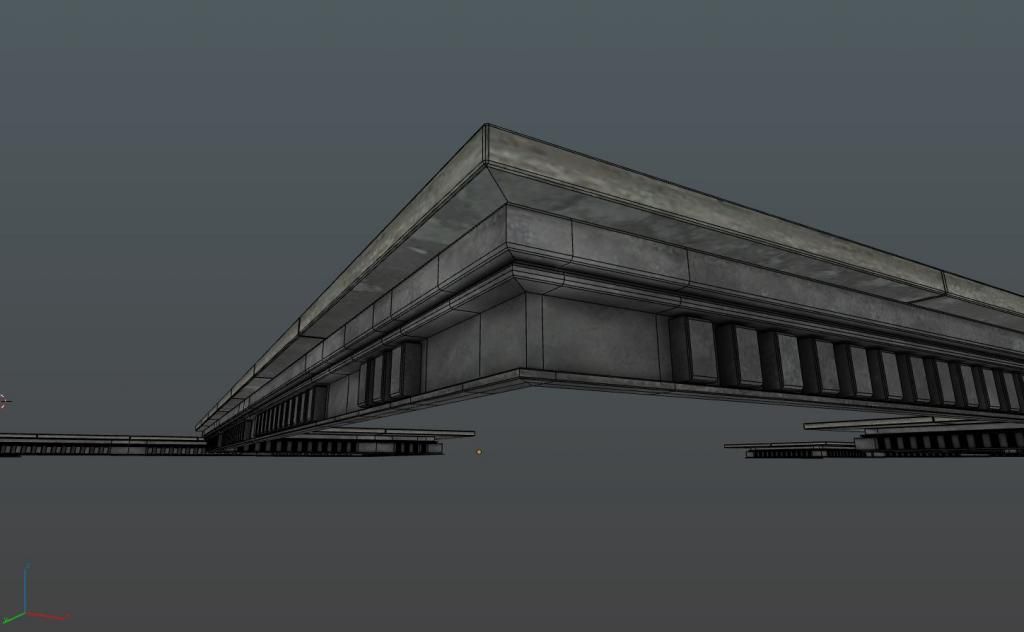
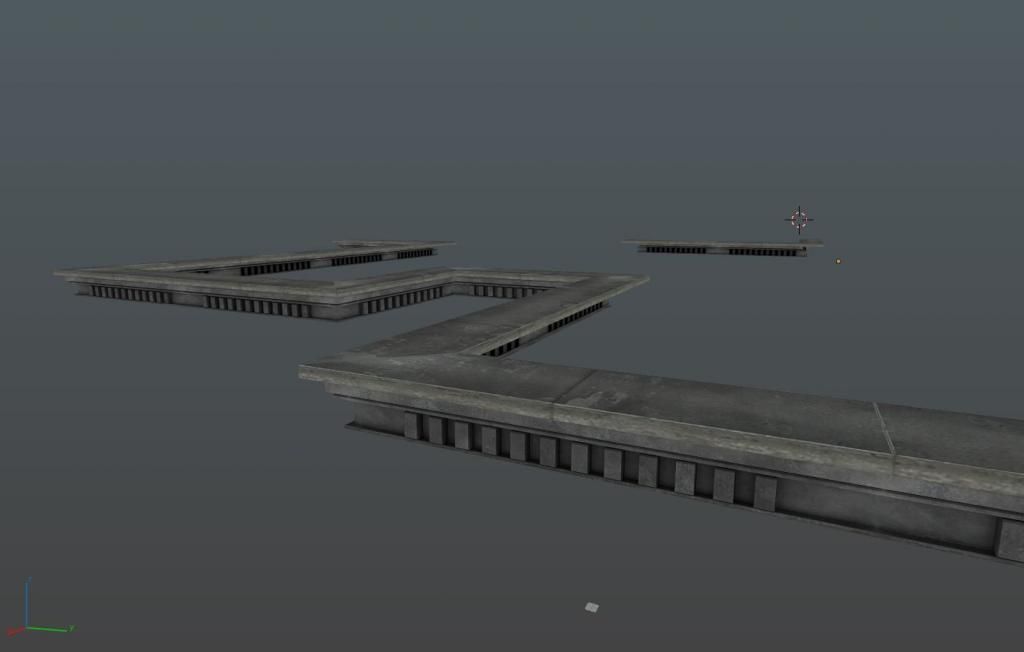
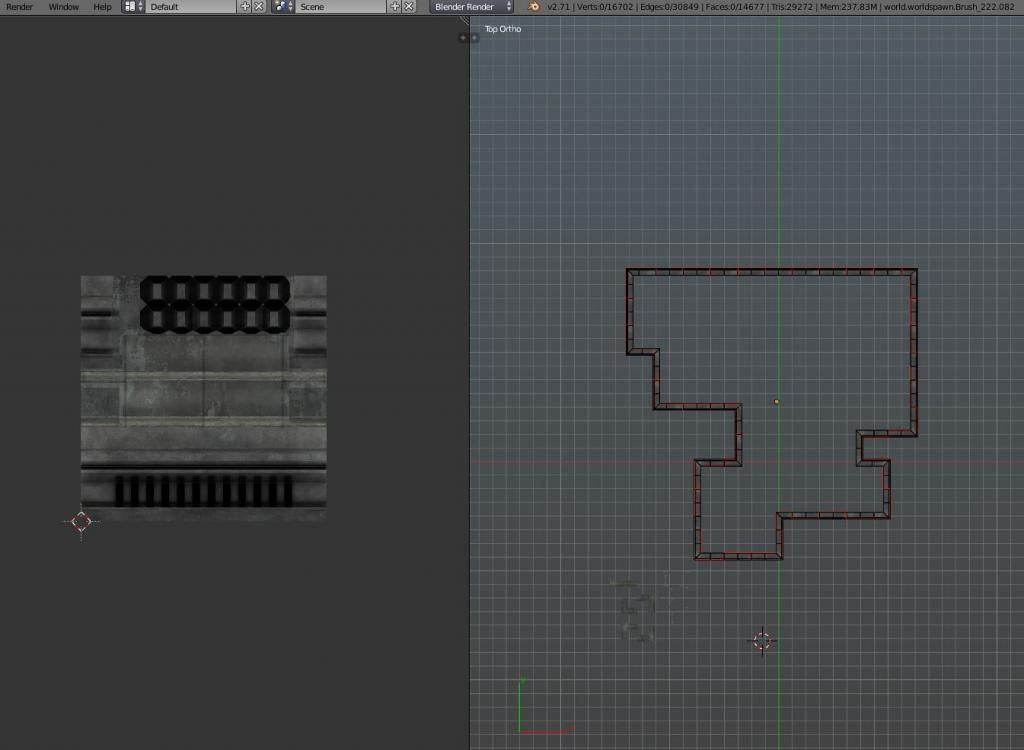
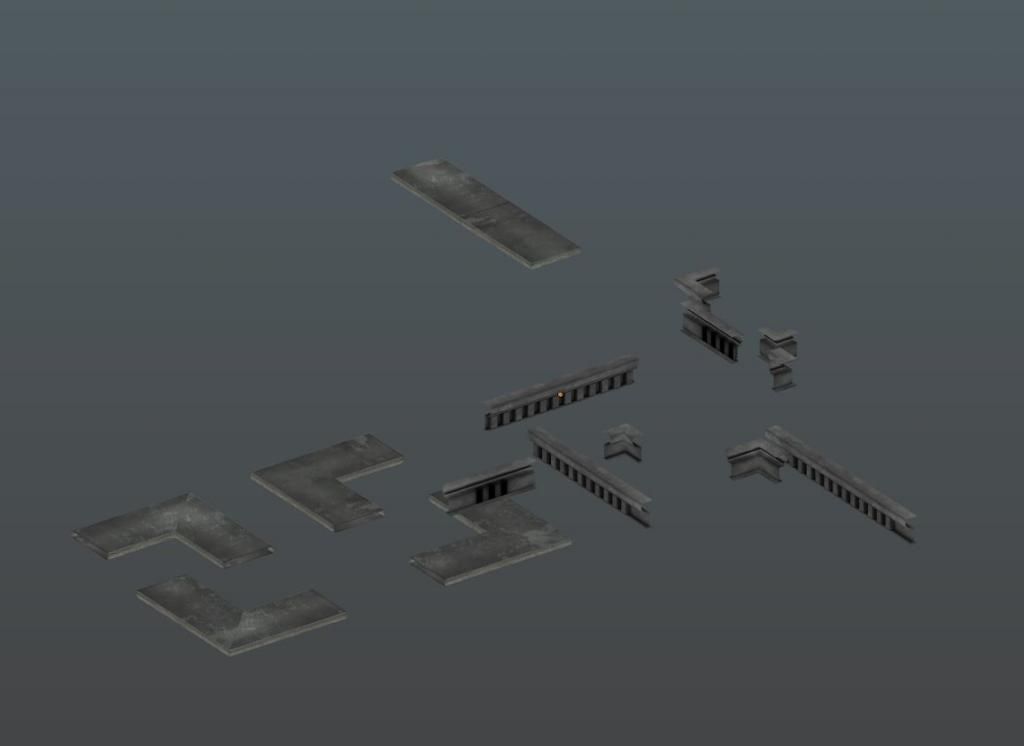
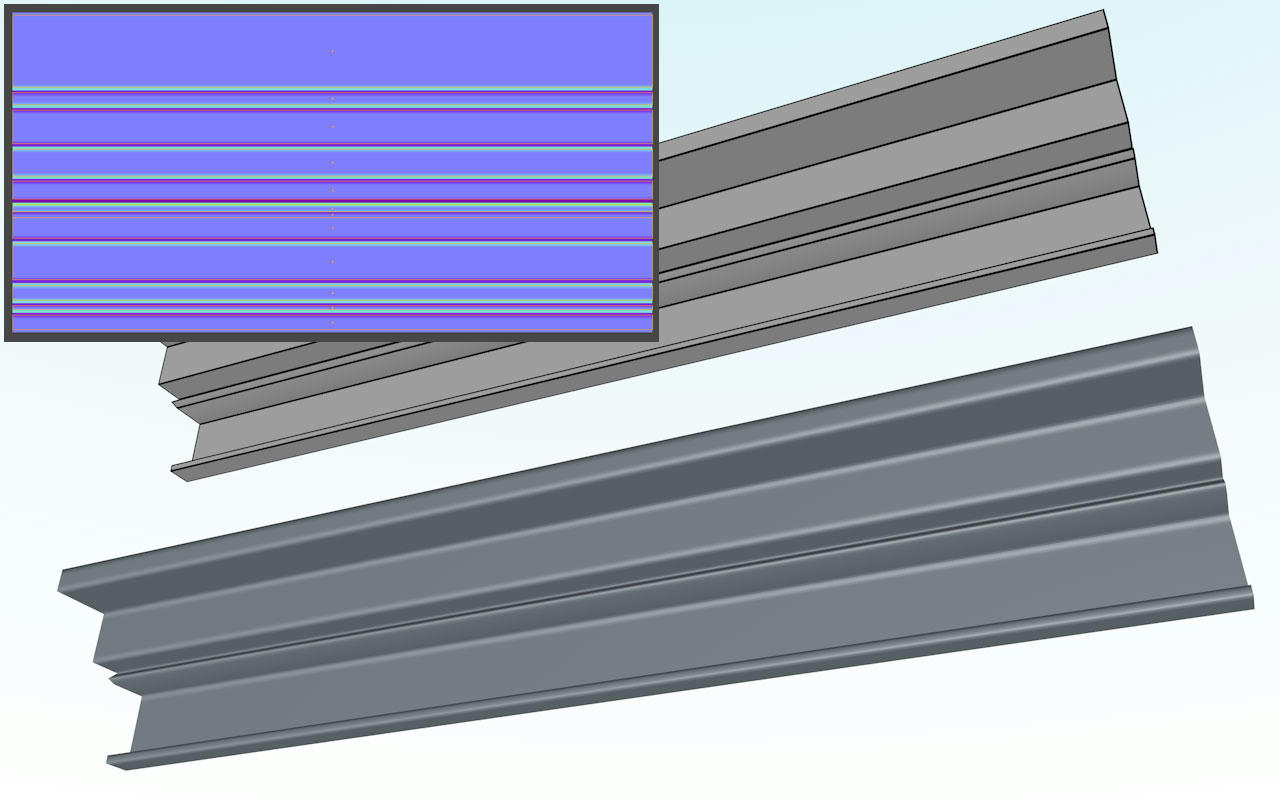
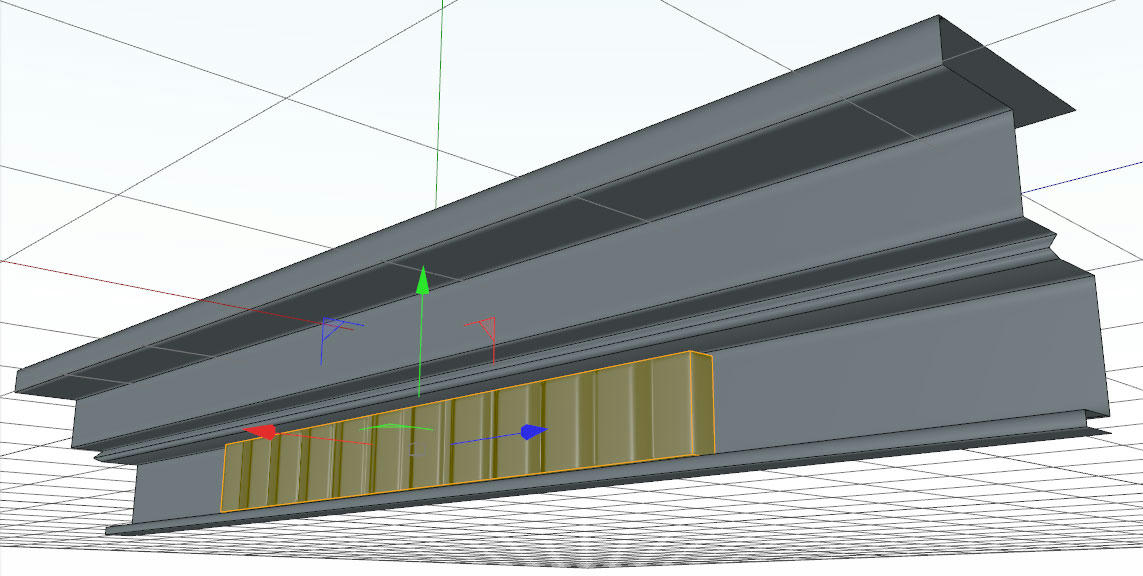
I recently created a roof named: Bld1_roof. It is split into two elements joined, the trim and the top blocks. For some reason it has has a lot of vertices 16702/faces 14677/tris 29272. It is the perimeter of the building the player enters. It uses 1 texture sheet 512x512

Image

Image

hammer/blender roof trim perimeter 1368x1368 units
Image

Elements of the roof
Image

Yeah I guess I have gone too far on the poly count on some of these models. I recently looked at some pictures of a modern game, I looked at some of the props within the game and I was convinced that what I design needed to be as detailed as that.

I done these a few days back, I guess they will need LOD I would like to see these high polygonal models textured but I need to probably delete a lot of edgeloops. I assume the roof also needs LOD. I don't know what to do.

big gas_meter
Image

side of building parts, contains: grates, pipes, rubbish bags and gutter pipes
Image

I don't know how to handle this situation. I keep on creating more props but everything I have finished still needs to be redone with edgeloop deletion and improved textures. The path that I am following is to carry on with prop creation once finished then try and fix the models so it is usable in source.

Re: Model pimpage Thread

PostPosted: Mon Sep 15, 2014 11:33 am
by kraid
As for the roof, it has to many details for sure.
I bet your roof will never been seen from such a close distance to justify that ammount of detail.
Also very long thin triangles can have a bigger impact on performance, so don't use these unless it's unavoidable.

This would be the perfect oportunity for you to learn something about creating normalmaps.

Just a quick example on how well normalmaps work for these kind of prop:
Image
Ofc. you will add more details.
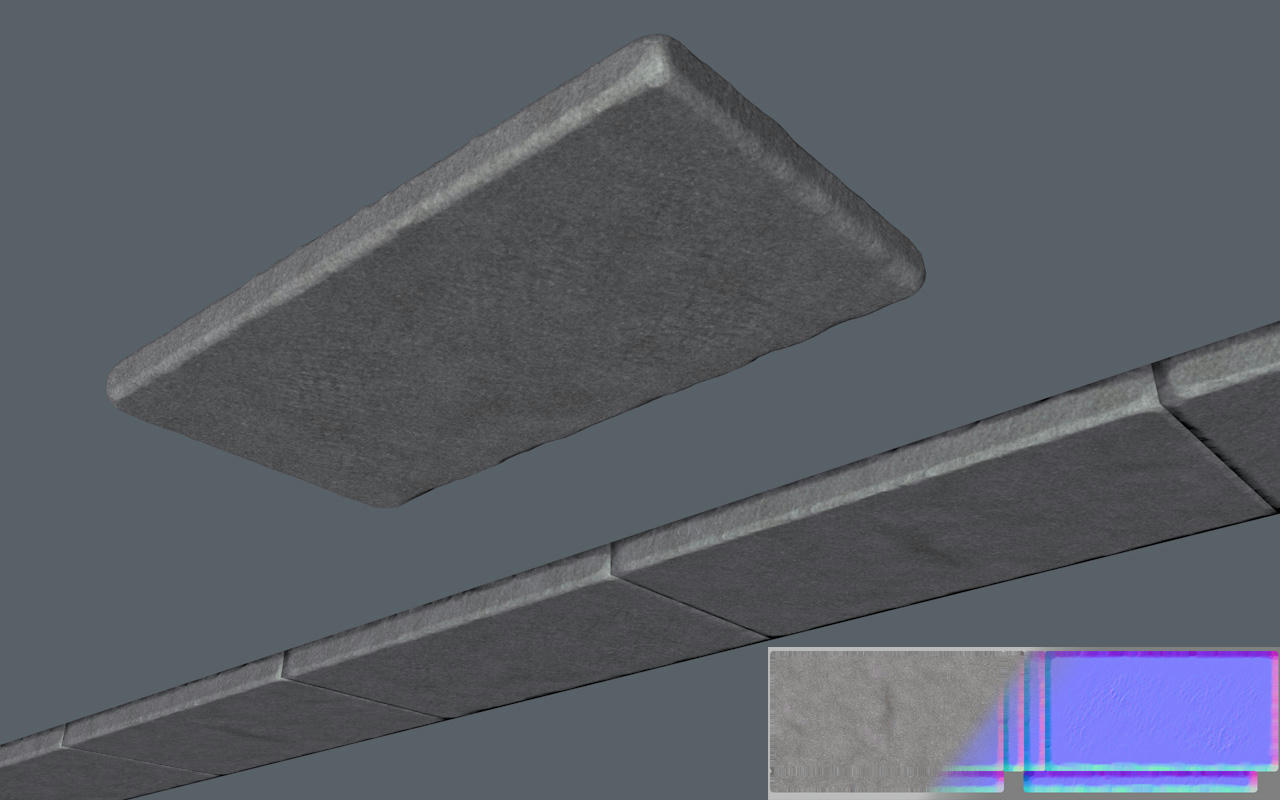
For things like the small stoneblock details, i wouldn't do them as seperated blocks with chamferen edges at all.

Example:
Image
From a little distace there won't be any noticable difference esecially with a good diffuse and AO added.

A little Update:
Image

A sculpted highpoly stone in the front, a row of lowpoly stones with baked texture in the back.
If these models were placed somewhere the player can get very close to, i'd add a chamfered edge to the lowpoly, too.
But since the rooftop is usualy only seen from distance, a simple box will be enough.

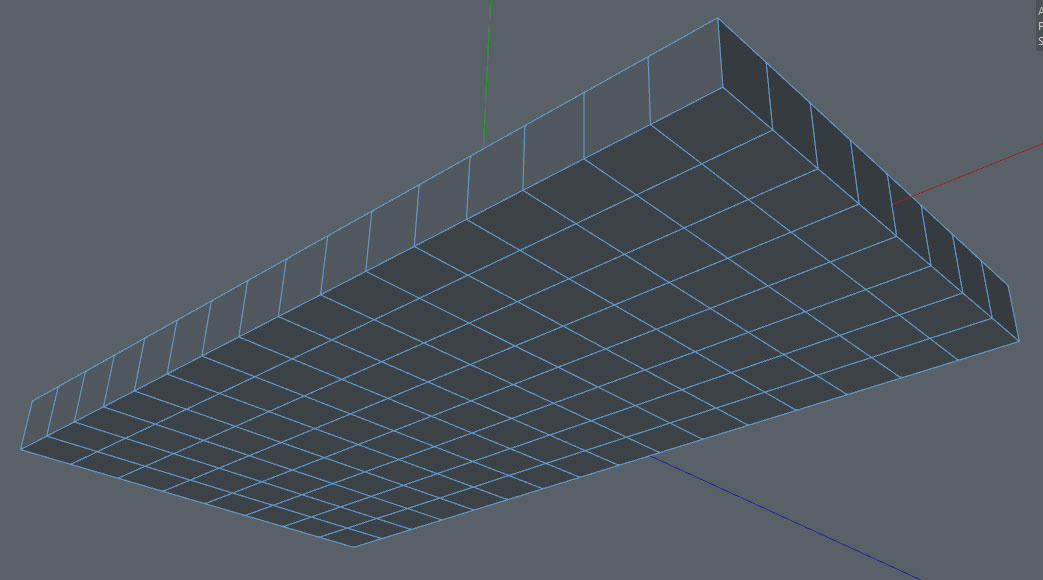
Just in case you wanna try sculpting, too. This is the mesh i used as a base to sculpt:
Image
For sculpting apps without dynamic remesh feature, it's important to have a basemesh with
equal quad resolution across the surfaces.

Re: Model pimpage Thread

PostPosted: Tue Sep 16, 2014 10:32 pm
by plagueofburia
Thanks kraid, that's awesome I like those trims and blocks you created I am beginning to see the power of normal maps, they really seem to be cutting the polygonal count down the bevel seems to be part of the texture. I guess I need to learn baking normal maps. I am a bit confused if I use a normal map will that effect the vertex lighting of the model? I thought normal maps change how models receive light, is this correct or have I got this wrong. I do want this roof_trim model to receive light correctly

Can I have a somewhat detailed roof_trim model and a transition LOD to a normal map model version that contains less polygons? Or is the normal map version the detailed version and all LODs are below that, man that is confusing. I will look at the video Black stormy mentioned on normal maps when the time arrives for that.

I will want the roof to be as detailed as possible, regarding the roof in my level it does serve a purpose and not just to add realism. I like exploration and if the player explores the building they will be able to get to the roof area from there they can find a map of some kind of the area/building. In addition the player can survey the surrounding area and plan where they need to go and in addition to that it acts as a vista. The important thing to me is, this is only if the player chooses to do this.

I might want to reuse the roof_trim parts in other buildings also.

I will eventually return to this roof model and delete edge loops and try and get the polygon count down so it works correctly hopefully with normal maps.

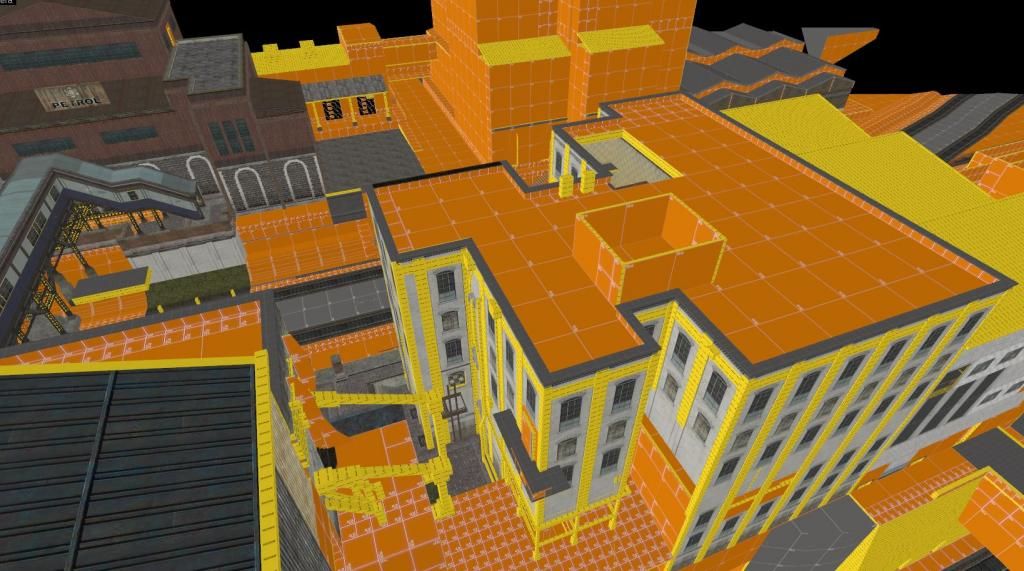
This is the roof in hammer
Image

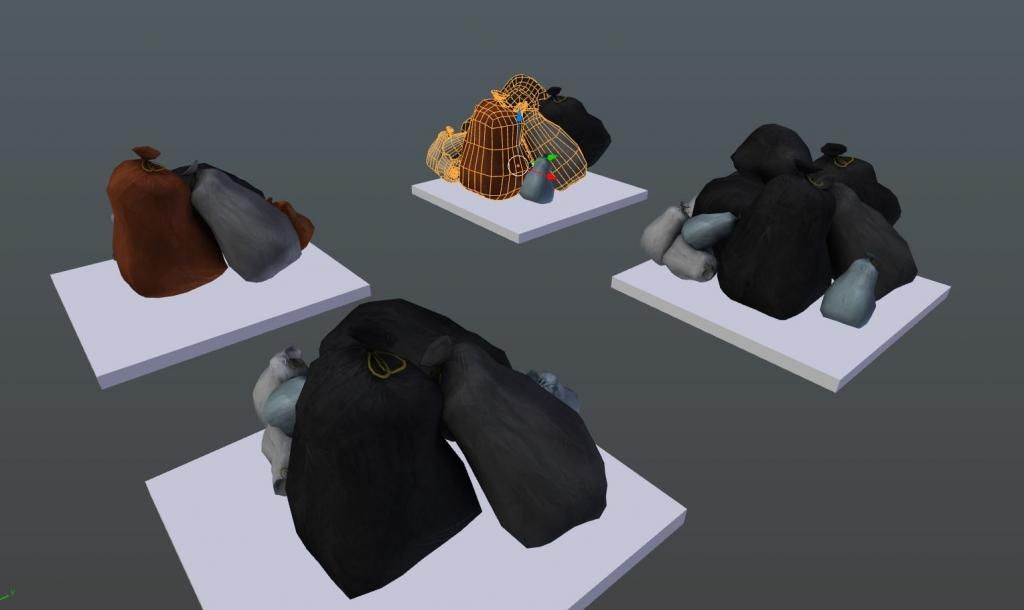
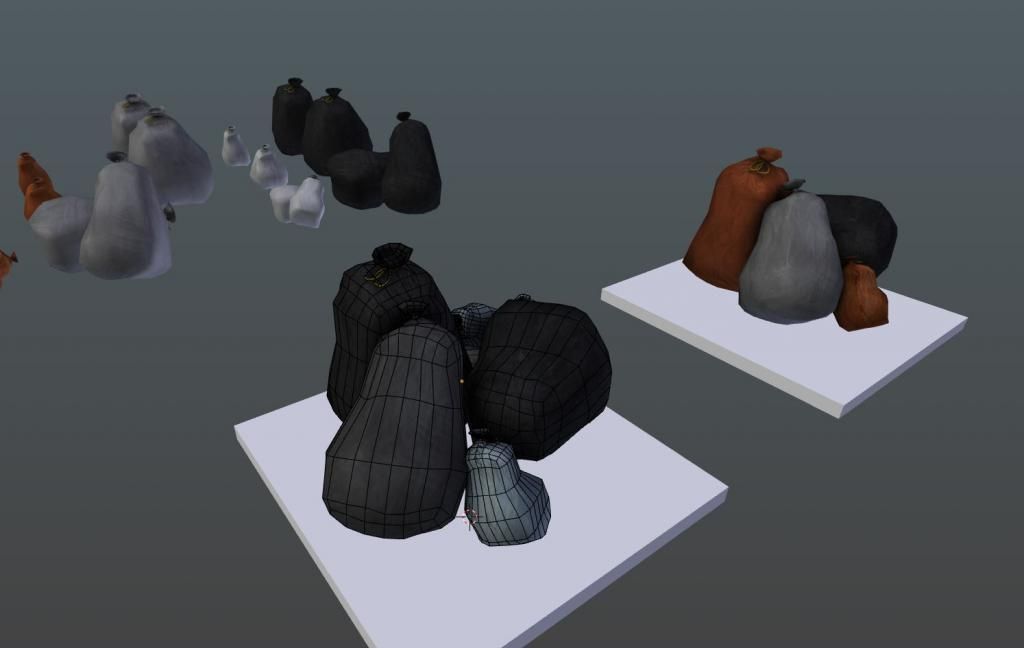
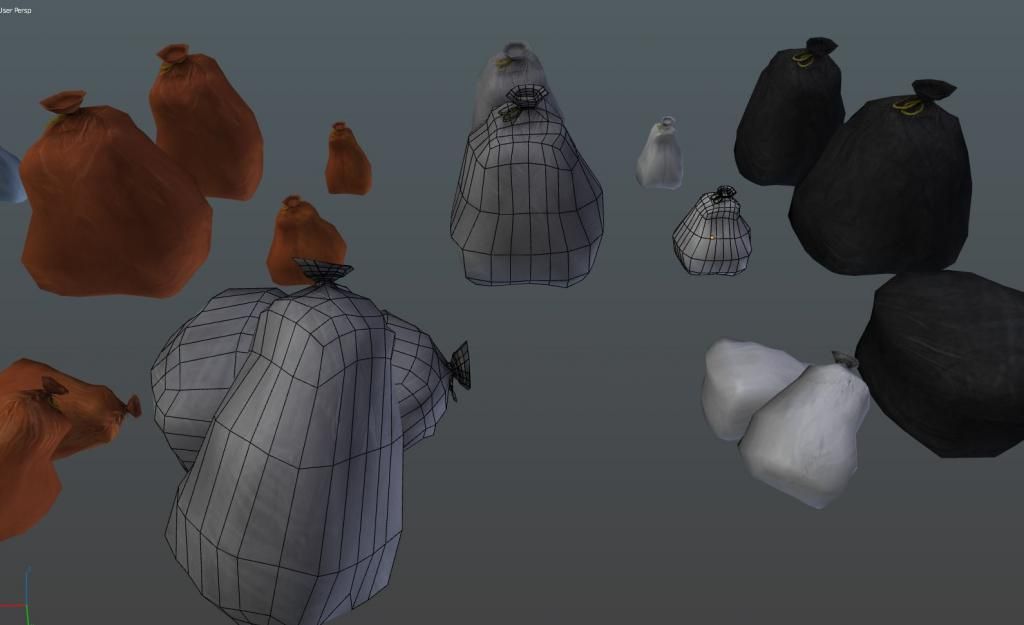
I recently created simple Junk_bags of various types and colours, I would like them to be really shiny, I think with a specular map of some kind that will help get that effect, from what I understand that should not take long to create.

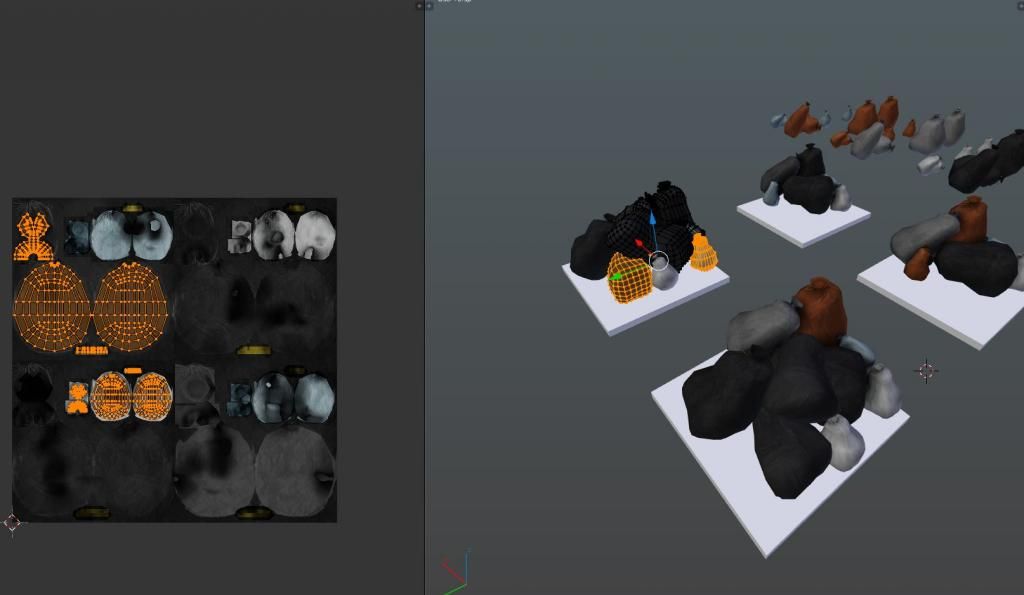
There are single junk_bag pile to very large junk_bag piles. The single has 3 skins of 512x512, the large junk piles use a mixture of the singles with a unique separate junk_bag model at 1024x1024

large junk_bag pile
Image

Image

single junk_bags
Image

The junk_bag_texture
Image

Re: Model pimpage Thread

PostPosted: Wed Sep 17, 2014 5:28 am
by kraid
The downside of normalmapped props is that they do not recive per vertex lighting.
If your props really needs (aka benefits from) vertex lighting depends a lot on the enviroment
it's placed in and the lighting situation.

Also your vertex lit prop has to have enough vertexes in order to recive noticable vertex lights.
For example a long straight pipe that has vertexes only at the start and endpoint wouldn't recive a shadow from a prillar that casts right accross it in the center.
So you'd have to add a lot of additional edgeloops there to have it shadowed.
It still might look ugly even with these changes.

Normalmaps on the other hand are lit on a per pixel base, but only respect actual light sources no shadows cast by props or bsp. This means your prop will be lit properly regarding enviroment lights and other light sources at the lighting origin of the prop.

Re: Model pimpage Thread

PostPosted: Wed Sep 17, 2014 5:54 pm
by ShinobiWan
I dont post much, but i lurk quite often.

Crate prop, needs a retexture.

Image

Re: Model pimpage Thread

PostPosted: Wed Sep 17, 2014 11:50 pm
by Stormy
kraid wrote:Normalmaps on the other hand are lit on a per pixel base, but only respect actual light sources no shadows cast by props or bsp. This means your prop will be lit properly regarding enviroment lights and other light sources at the lighting origin of the prop.


Do you have more information on this? I'd like to know how it works and why.

Re: Model pimpage Thread

PostPosted: Thu Sep 18, 2014 9:37 am
by Surfa
This is an old article but gives a good explanation and is still relevant.
http://www.3dkingdoms.com/tutorial.htm

Re: Model pimpage Thread

PostPosted: Thu Sep 18, 2014 3:43 pm
by kraid
Ok here's an example in Source:

From top to bottom:
#1. flat color pipe with additional edgeloops every 32 units (pipe is 512 units long) uses per vertex light
#2. textured and normalmapped prop with phongshading and cubemaps enabled
#3. flat color prop without normalmap uses per vertex light
#4. flat color pipe with normalmap, phong and cubemap for better visualisation of how the normalmap reacts to light.

Pic 1:
http://cloud-4.steampowered.com/ugc/26216921952944372/599A16506C6C508E1A8E923DD258C708115C0528/
Odd lighting artefacts due to blending between vetexes with different light values. (#1)
Also blending of vertex light across the whole prop (#3)

Pic 2:
http://cloud-4.steampowered.com/ugc/26216921949129787/27272412C54693C079B3BDAF4CF3E2A13CABD741/
Wireframe view of the scene.

Pic 3:
http://cloud-4.steampowered.com/ugc/26216921948852763/7A824AA4BEB7B304B9D6F295B5A57C787766EB91/
Close up of pipe 4.
Here you can see how the normalmap affects the light distribution across the prop.
Little dents and bumps on the normalmap are lit on a per pixel base with the light values sampled at it's origin.
Two more shots without Phong, for better understanding:
http://cloud-4.steampowered.com/ugc/26216921953599922/9919815F4B8368091E0F397BD6BB288DF93A4F7C/
http://cloud-4.steampowered.com/ugc/26216921953601646/756D6C40CE2289E01C15F07A3797C62DA229A519/

Pic 4:
http://cloud-4.steampowered.com/ugc/26216921952947164/81D002797BABBB89707B380DD88722DF3A42D449/
View from behind the pipes.
Notice how sampling light every 32 units (#1) creates a slightly different (more accurate) transition from blue to red light then the sampling at the pipe start and end point only (#3)?
Also, odd triangle blending issues on #3.